GLG410/598--Computers in Geology
Georeferencing raster data in ArcMap
Motivation:
You just came back from field camp. Now that you have produced this beautiful piece of work you want to share it
with everyone. But only scanning it and puting on the web is not really satifactory because it would be relatively
hard to further work with the map. And even so it is a beauty of a map, the weeks you have been working on it in the field really show:
It looks quite worn out. So what can you do? The answer is georeferencing and digitizing it. This allows you to easily
overlay your map with other data and make even nicer maps.
About georeferencing in ArcGIS, some helpful links and keywords:
The makers of ArcGIS have a really sophisticated
'help desktop'.
I highly recommend to visit this site, at least as a starting point, if you have question regarding ArcGIS.
Since this tutorial is about georeferencing, keywords you should look for are georeferencing,
georeferencing raster data, orthorectify raster data . There are other sources of course.
What happens:
Here, we will describe briefly how to georeference (or rectify, the words are interchangeable) a map without spatial reference to
a map that has some. As an example we will georeference a map of active fault breaks along the San Andreas Fault
(by Vedder and Wallace, 1966) to some DRGs we downloaded from the California Spatial Library. The first thing we did, was
scanning the paper map. The second was to get georeferened data (e.g. DRG) of the same location.
For your ease and to give you the chance to follow along, we put both data sets online:
Active Breaks Map, Carrizo Plain (Vedder and Wallace, 1966)
Zipped DRGs of the Carrizo Plain
Active Breaks Map, Carrizo Plain, small, (Vedder and Wallace, 1966)
Zipped DRGs of the Carrizo Plain, smaller version
Doing it step by step:
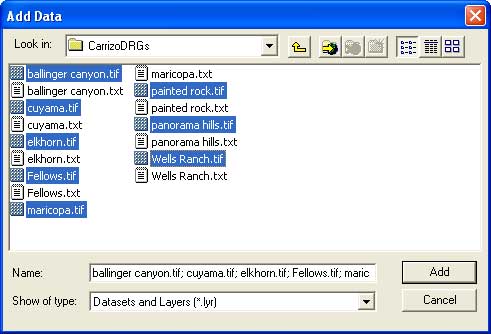
1.) Download the data and put them all in one folder (e.g. /CarrizoRectify). When you unzip the DRGs you will notice that for
each *.tif there are three other files (a *.txt and an *.aux and a *.rdd). They are made by Arc, do not delete or mess with them.
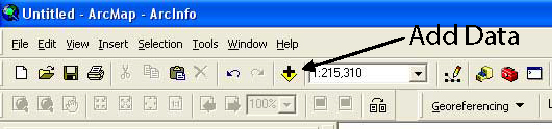
2.) Open ArcMap
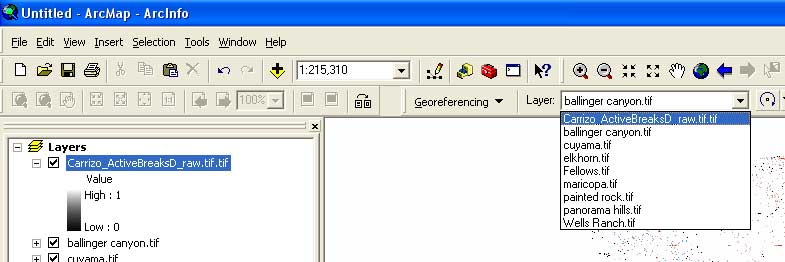
3.) Go to "add data" and add all the DRGs (they are georeferenced tif's).
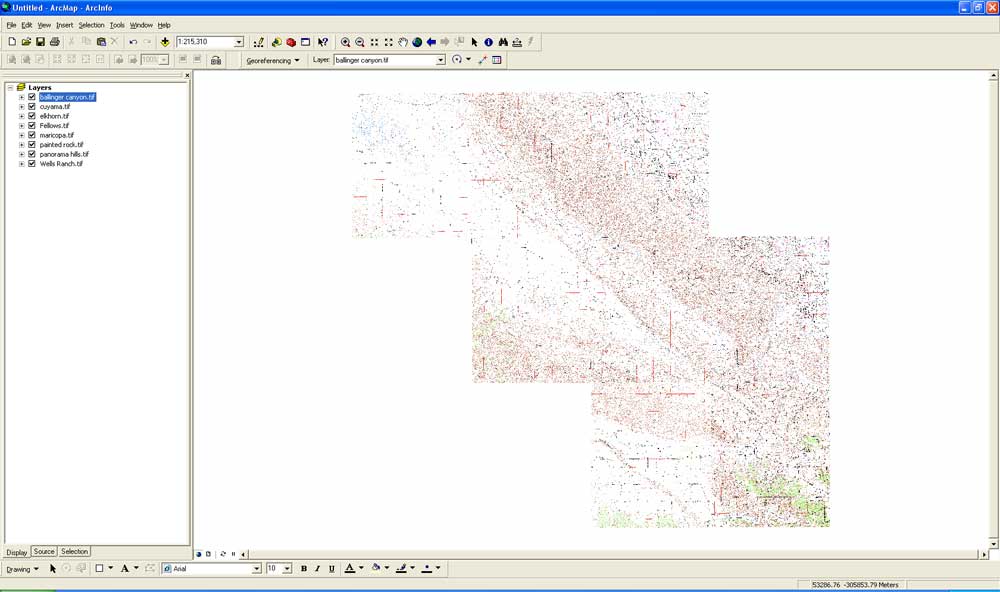
4.) If it worked (crossing fingers) you will see a map like this:
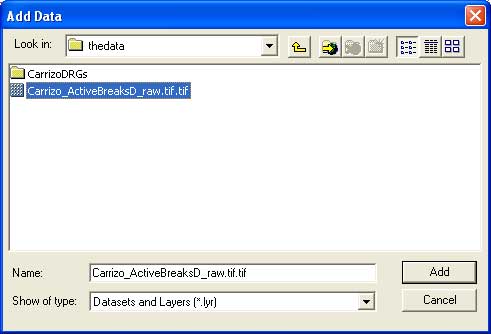
5.) Go to "add data" again and add the unreferenced image/map. Answer the question about pyramid-building with yes and wait till
it is done. You will get a warning message that this image has no spatial reference (not yet!).
6.) To do the georeferencing, we need the corrsponding toolbar:
View menu => Toolbars => Georeferencing Toolbar Select the unreferenced layer/file in the toolbar. In this example that
would be "Carrizo_ActiveBreaksD_raw.tif".
Look at the maps individually and try to find the same location in both the referenced and the unreferenced data. This may take a while.
The "zoom to layer" tool should be taken advantage of! If you have found a point that you can identify on both data sets, you can start
to add control points:
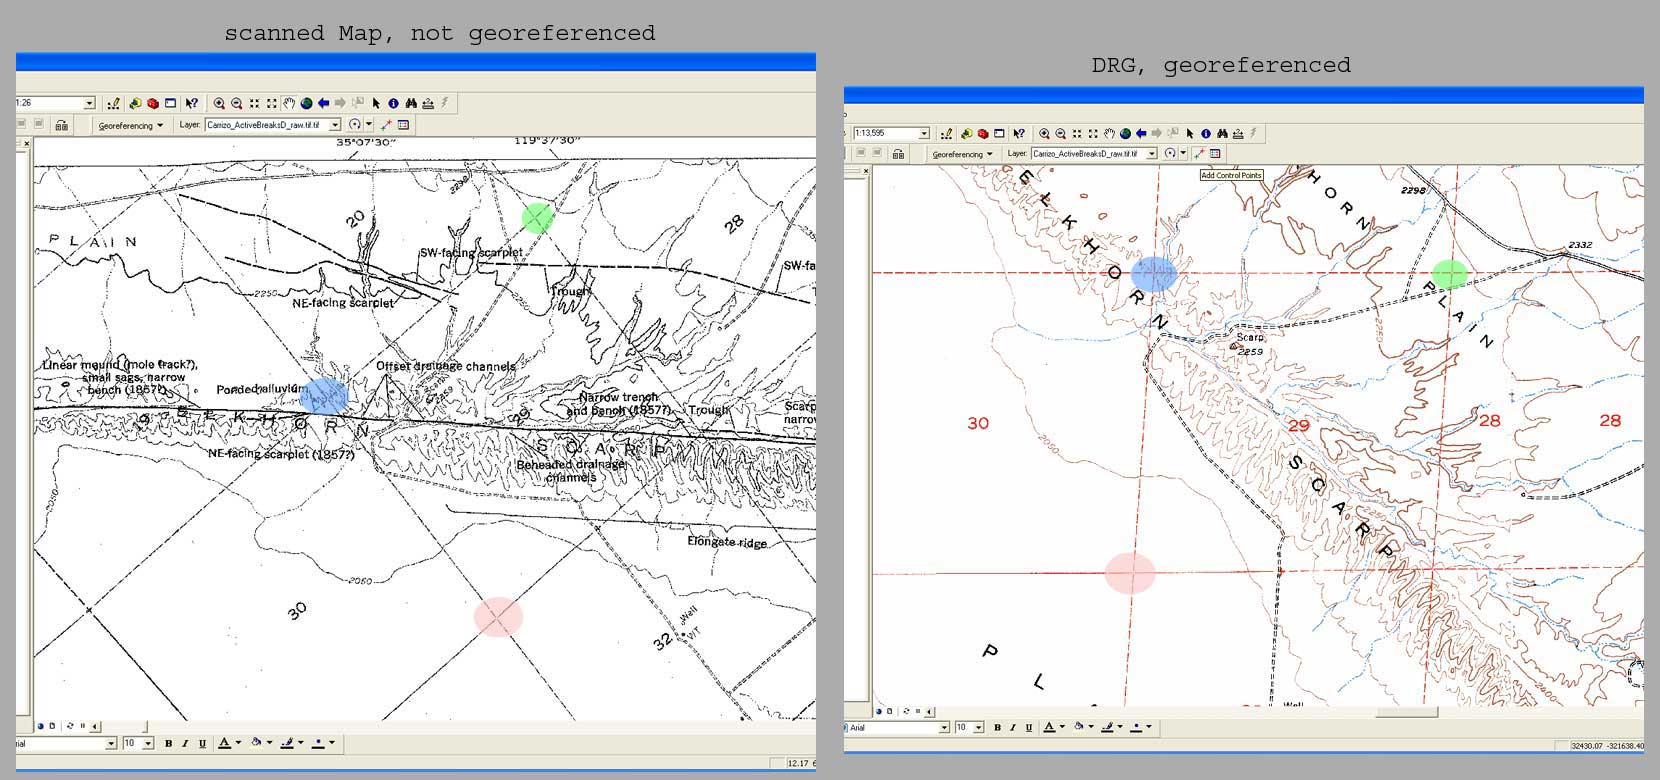
7.) On the Georeferencing Toolbar select Add Control Points.
i. Find and click on a location on your unreferenced image.
ii. Find and click on the same location in the referenced basemap.
THIS IS IMPORTANT! MAKE SURE THAT THE UNREFERENCED LAYER IS SELECTED IN THE GEOREFERENCING TOOLBAR! AND JUST AS IMPORTANT:
WHEN DEFINING THE CONTROL POINTS, CLICK FIRST AT THE UNREFERENCED, AND THEN AT THE REFERENCED MAP!!!
Find at least 3 other points, that match. You will probably see that the two dataset start to overlay each in a descent way when you have
identified 4 or five points. Get a descend number of matching points. Make sure that they are distributed more or less evenly.
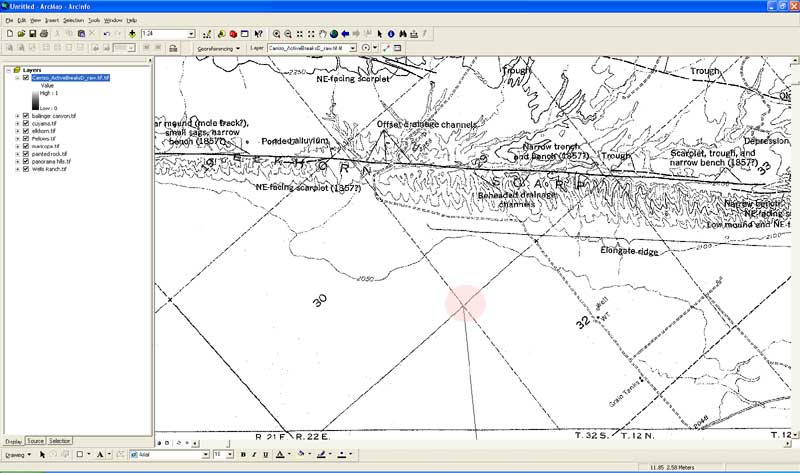
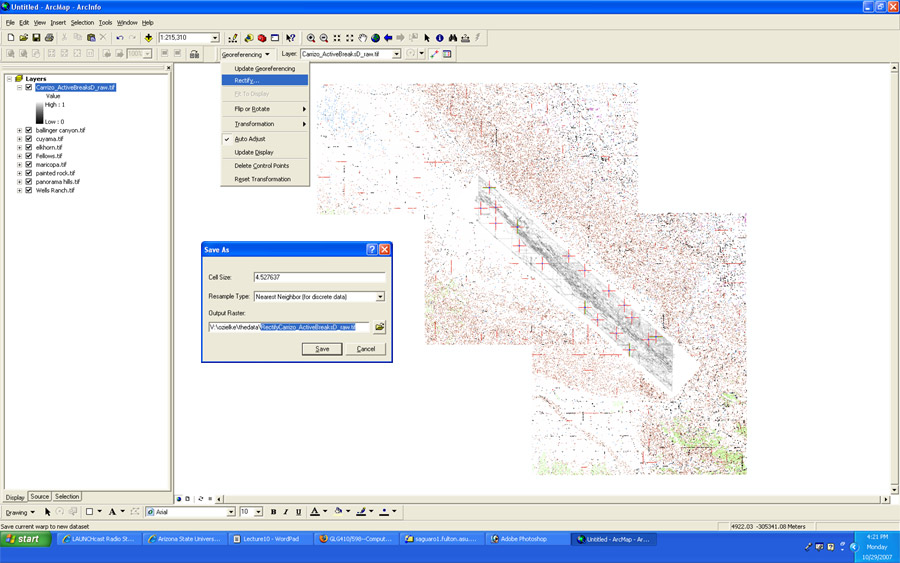
8.) When you think you have enough points (e.g. 20) you can save the now rectified map. Go to Georeferencing Toolbar, click
Georeferencing, update the georeferencing and after that click Rectify in the same menu. In the dialog that will
open you can define the name of the georeferenced/rectified image. Now you can add the just saved, rectified image and remove the other
layer.
Well Done!
GLG410/598 Computers in Geology
Last modified: October 30, 2007