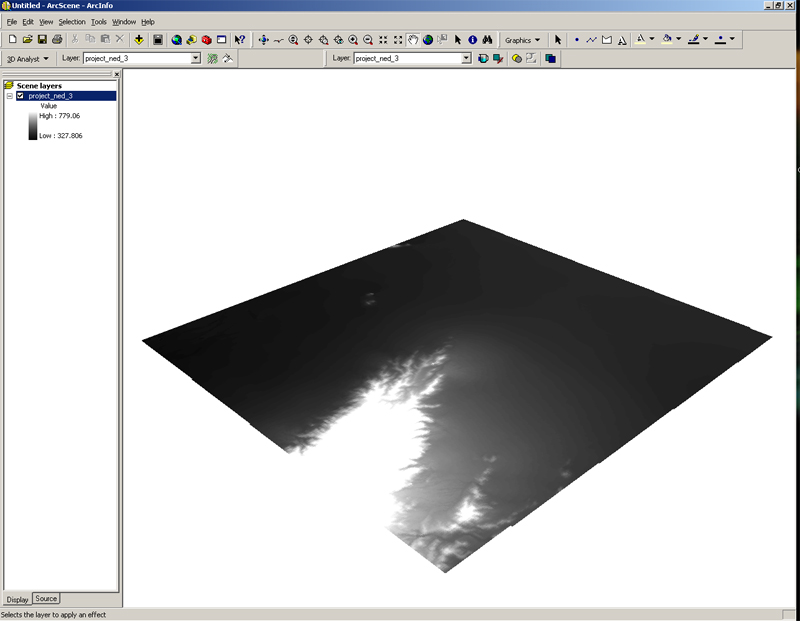
- Now, the DEM is in ArcScene
- To make the graphic three-dimensional you have to right-click on the layer => Properties => Base Heights and the following window will open
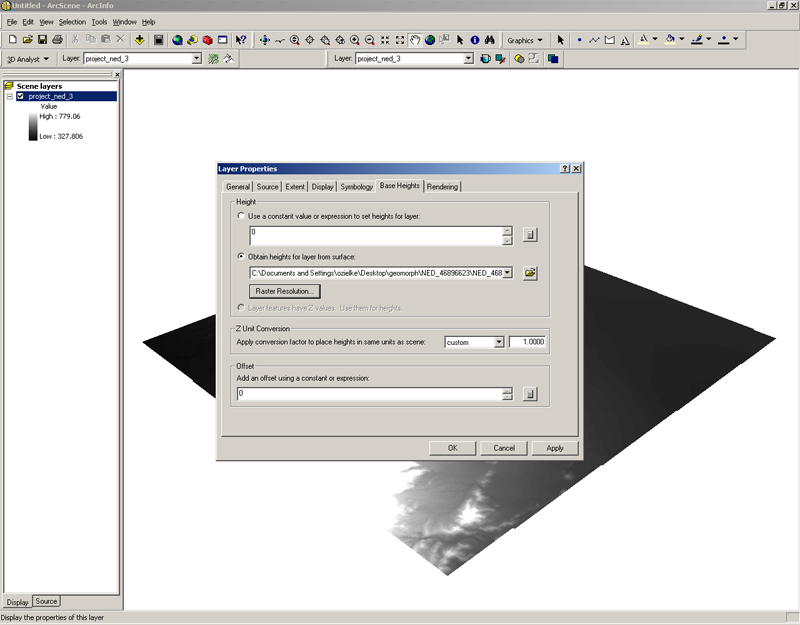
- You want to obtain the height information for the layer from a surface -that surface would be the DEM covering the area => Browse for the DEM -in our example here, the layer and surface are the same data sets)

- You may want to increase the z-Factor (Z Unit Conversion) to exaggerate the relief.
- The next thing you can do, just the way you did in ArcMap, is going to Symbology and change the Color Ramp to one of your liking
- Press OK and you will obtain a view that should look something like this (figure below)
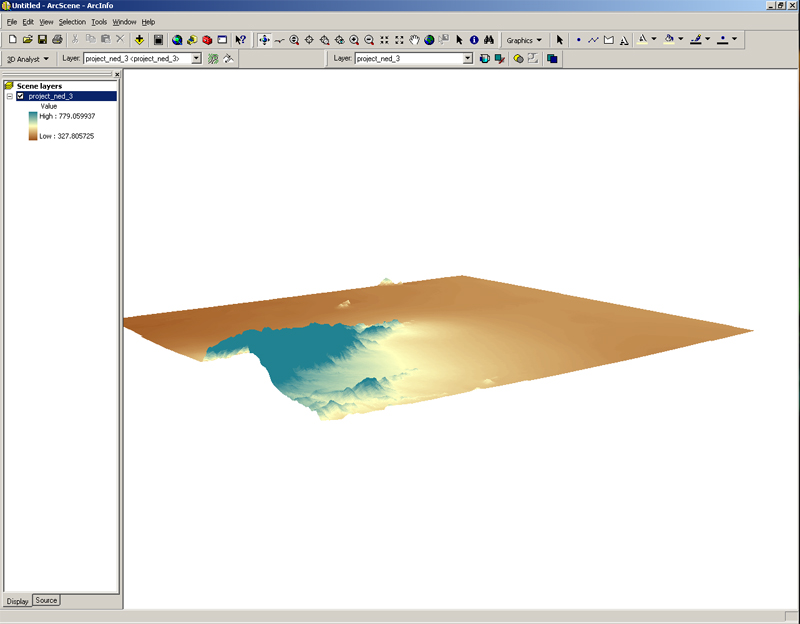
- That is quite nice already
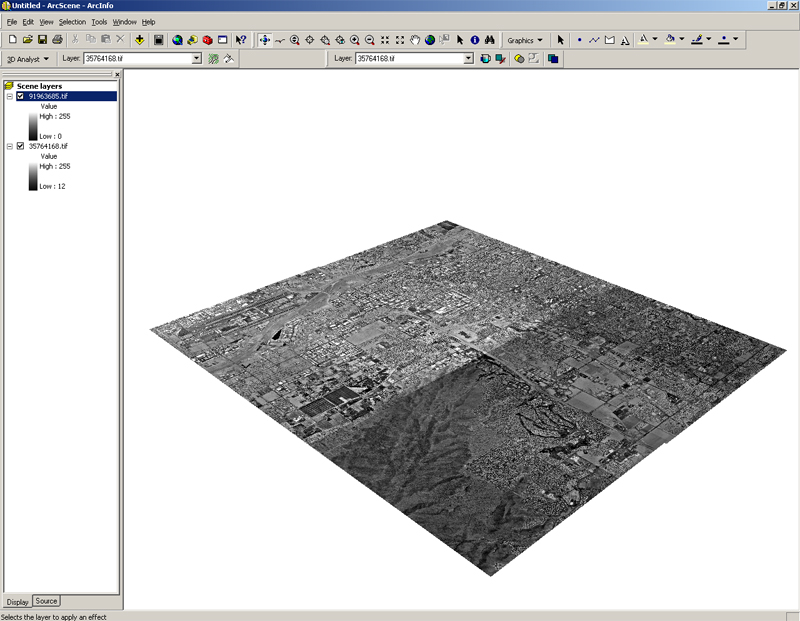
- The next thing we will do, is using the ortho-rectified photos (DOQQ) that cover this area and make them three-dimensional
- For that, we dont need the DEM anymore => remove the layer
- Add data => browse and input the DOQQ's -this may take quite a while, so be patient!
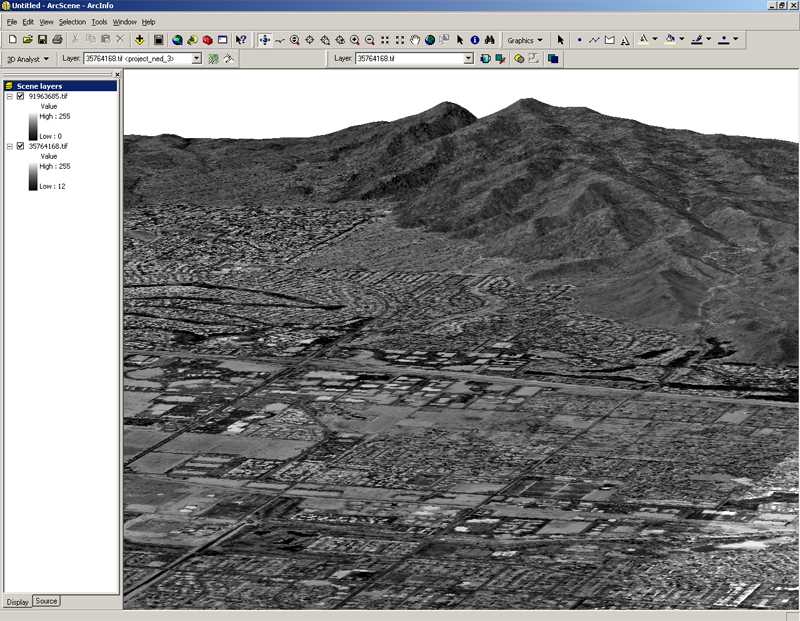
- Now you should have a view like this
- Now we want to do the very same thing a before => Layer (right-click) => Properties => Base Heights =>
- We will obtain the heights from the reprojected DEM that we used some minutes ago! Browse to its location and select it
- After that, you may also go to Rendering to adjust the rendering quality => BE CAREFUL increasing the quality can signicantly increase the processing time. We recommend to start the the presets and the adjust the rendering if needed.
- After the computer has finished the rendering, you can maneuver around to adjust the view and get results such as that

To save your image once it is the way you like it, File->Export Scene->2D will get you to some choices for image formats. Be sure to experiment with the file type and the resolution so that you get what you want. Save as gif, jpg or pdf as your best options.

- That's all there is to it -enjoy!